If you are looking for tufting supplies and are unsure what you require, simply click on this link to see a list of items.
If you already have everything, a step-by-step guide is provided below.
Pressure
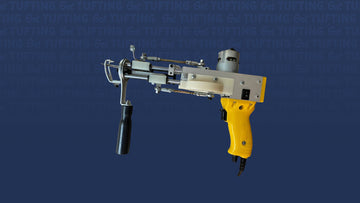
While tufting, you should apply consistent pressure. At all times while tufting, make sure the foot of your tufting gun is pressed against your tufting cloth. There is no such thing as too much pressure; most people are afraid of pushing themselves too far. If you don't push hard enough, your tufting gun will jump around on your tufting cloth and the yarn will fall out. More information can be found here.
Angle
Always keep your tufting gun at a 90-degree angle to the tufting cloth. Otherwise, it will produce an uneven weave and will almost certainly rip your tufting cloth.
Direction
The tufting gun only tufts in one direction, forward. If you want to go around a corner, you must change direction while guiding the vehicle with the hand that pulls the trigger.
Row size
Row distance is determined by pile height, yarn type, and the number of yarn strings fed through your gun. You want it to be fairly dense on the front of your piece, but not too dense that it loses fluffiness. If you notice a gap on the front of your piece, you can tuft between two already tufted lines. You'll know how to handle it once you've mastered your yarns and guns.
Tufting gun for loop piles
If you're using a loop pile tufting gun, you'll need a clipper or scissors. Because this machine creates small continuous loops, the yarn must be manually cut at the end of each row. As a result, making corrections is a breeze because you can simply pull the entire yarn string out again, close the gaps with your fingernails, and begin tufting again. Of course, this only works a couple of times on a specific spot. You will eventually overwork the tufting cloth, but I liked it a lot when I first started because it reduces the risk of mistakes that cannot be corrected.


